
Introduction
A leaking pipe can cause significant damage if left unattended, leading to water waste, mold growth, and structural issues. This step-by-step guide will help you fix a leaking pipe effectively, preventing further damage and ensuring the integrity of your plumbing system.
Step 1: Identify the Leak
The first step in fixing a leaking pipe is to locate the source of the leak. Look for visible signs of water damage, such as dampness, water stains, or dripping water. Use a flashlight to inspect pipes under sinks, in basements, or any visible pipes. If the leak is not readily visible, turn off all water sources and monitor the water meter. If the meter continues to run, it indicates an ongoing leak.
Step 2: Turn Off the Water Supply
Before attempting any repairs, it is crucial to turn off the water supply to the affected pipe. Locate the main water valve and shut it off to stop the flow of water. Additionally, turn on a faucet connected to the pipe to release any remaining water pressure. This step will help prevent further leakage and make the repair process safer and more manageable.
Step 3: Drain the Pipe
To minimise water spillage during the repair, drain the affected pipe. Open the faucets connected to the leaking pipe to allow any remaining water to drain out. You may also use a sponge or towel to soak up any residual water. Ensuring the pipe is dry will provide better adhesion for sealants or patches and facilitate a more effective repair.
Step 4: Assess the Damage
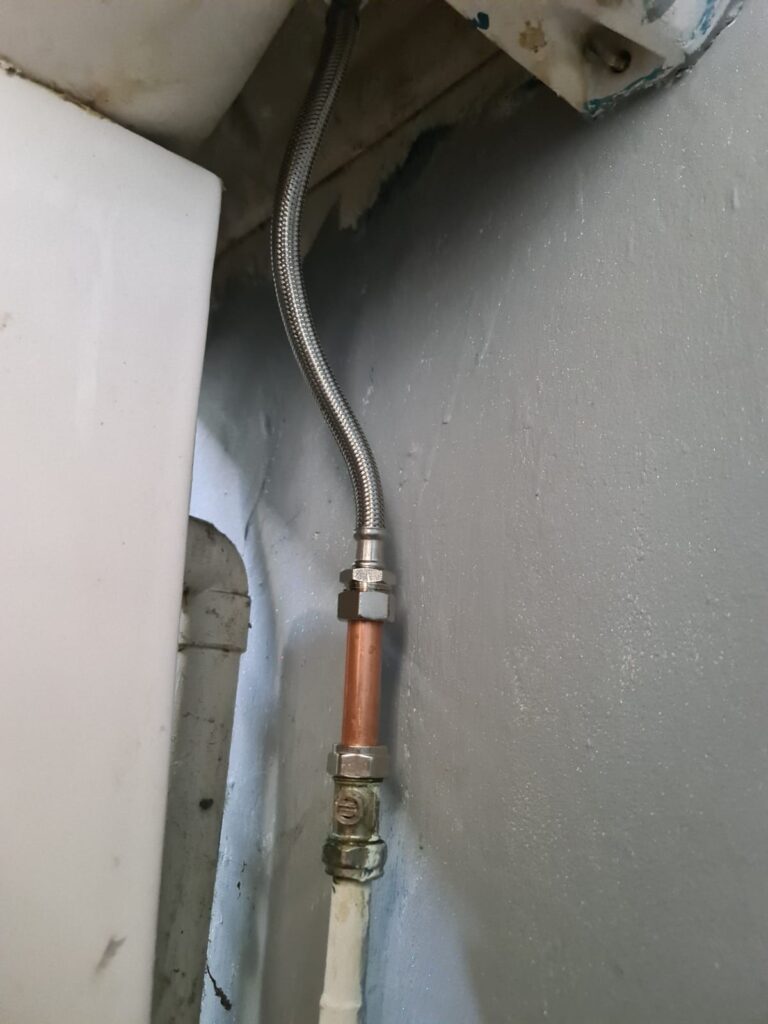
Once the pipe is drained, carefully examine the damaged section. Identify the type of pipe material, such as copper, PVC, or galvanized steel, as the repair technique may vary accordingly. Assess the severity of the damage; minor leaks may only require a simple patch, while larger cracks or holes might necessitate a pipe replacement. Gather the necessary tools and materials based on the type of repair needed.
Step 5: Apply Temporary Fixes
If the leak is minor and you need a temporary solution, several options are available. For small leaks, you can use waterproof tape or pipe clamps to seal the affected area temporarily. Epoxy putty is another effective temporary fix for small holes or cracks. These temporary measures can provide immediate relief while you arrange for a permanent repair.
Step 6: Permanent Repair
For a long-term fix, you may need to replace the damaged section of the pipe. Cut out the damaged portion using a pipe cutter or hacksaw, ensuring clean, straight cuts. Take the removed section to a hardware store to find a suitable replacement. Connect the new section using appropriate fittings and connectors, ensuring a secure and watertight connection. Apply pipe joint compound or thread seal tape to ensure proper sealing. Test the repaired section by turning on the water supply and checking for leaks.
Step 7: Monitor and Maintain
After the repair is complete, closely monitor the repaired section for any signs of further leakage. Inspect the area periodically, especially during the first few days, to ensure the repair has been successful. Additionally, regular maintenance of your plumbing system, such as checking for corrosion or wear, can help prevent future leaks and ensure the longevity of your pipes.
Conclusion
Fixing a leaking pipe is an essential skill that can save you time, money, and potential property damage. By following these step-by-step instructions, you can identify, assess, and repair leaking pipes effectively. Remember to prioritise safety, turn off the water supply, and consider seeking professional assistance if you are uncertain or unable to fix the issue yourself.